Wednesday, April 16, 2014

Easter Eggs!

Easter is this weekend as almost everyone should know.
I love Easter! When I was a kid Rabbits were my favorite animal (I had over 100 bunny things)
You know when you find out Santa Claus isn't real and it make you question everything?
Ok that moment happened when I found out the Easter Bunny wasn't real. I was devastated.
But I have grown out of the sadness of this experience and grew to love Easter again.
Even though Rachel and I do not have kids yet we still enjoy dying eggs ^_^
Rachel said, "I will never grow up!"

We found some interesting egg dying techniques on pinterest and decided to try them out

Stuff you need:
Vinegar (white or apple cider, it doesn't affect the color)
food coloring
Cups
Water
paper towels
Olive Oil
Shallow plate
Hard boiled Eggs


1 cup of water, 2 tbsp vinegar, and 3-5 drops food coloring for each cup.
We threw a couple eggs in the cups to make plain colored eggs.


This first method is one my brother and I created on our own.
Rainbow eggs!

Start off by putting a bit of vinegar onto a paper towel.


like so


Using the 4 pack of food coloring we got, we did a drop of food coloring in this order:
Red, yellow, green, blue, and red.


Set the egg on the paper towel and rotate it until the entire egg is colored.


*Warning* this will dye your hands!


This next method we found HERE
Marble eggs!


We poured some color from one of the cups and added 2 more drops of food coloring.
added about 1/2 a tbsp of olive oil. (Don't add too much oil or the color will not stick well)


And swirled the egg around!


Oh, we messed up the purple dying cup somehow and the egg turned out this ugly grey color.
We dropped some red food coloring on the egg we had in it and dunked it back in the "purple" for about 10 second.


This was the result! Lava egg!


Lava egg, rainbow eggs, and solid colors.


This next method we found HERE.
A rubber band Technique


Put some rubber bands on your eggs (tight or the lines will not be solid) and dunk in the color of choice.


You can add more rubber bands and dunk in different colors.


Using the same technique as my rainbow egg we made some tye-dye eggs.

Our Easter Eggs this year.


The rubber band technique was an fun one that I think can be used when decorating with children to make some interesting eggs.

The oil Marbling technique we might not suggest for kids unless you give them a bath right after. The oil was annoying to clean off the eggs without loosing some color.

And my rainbow eggs you may want to wear gloves to make, but they make some really cool eggs.  

This was a great way to bring back some fun childhood memories,
and learn some new ways to decorate eggs.

Happy Easter from your Pandas!

Pink hair Rachel!

Sunday, April 6, 2014

Loquat Jam

If you live in Florida or have visited Florida, chances are you have seen loquat trees all over the place. I have noticed in our area very few people pick the fruit from their trees and it is such a waste of delicious fruit.


There are many ways to use the fruit. you can eat it plan, put them in a pie, 
or make awesome homemade jam!

To get all the fruit needed for the jam we picked all the fruit we could reach in my tree, then we went to Rachel's parents house picked all from their tree, and went on a walk and picked some wild loquats. We got about 9 lbs of fruit doing this.

Ingredients you will need are:
15 cups pitted loquats (they can have up to 4 seeds)
5 cups sugar
1 cup agave nectar
and enough water to help blend the loquats in the blender
(about 8 cups)
the more water you add the longer it will take to cook out.

(I got a new stove!!! MEEP!!)

You start off by blending the loquats so you do not have such big chunks in the jam.
Fill your blender with the fruit and add water about a inch under the fruit line.


Once the fruit is blended put them in a large pot and bring it to a boil for 2 minutes.


Remove from heat and add the sugar and agave nectar.


Return to heat and bring back it a boil for 3 minutes.
Reduce to a simmer and stir (scraping the bottom) occasionally for 2-3 hours (yes, you read correctly)


While that is cooking you can prepare your jars.


After 3 hours the mixture should have turned a warm amber color and thickened greatly.
Remove from heat, carefully fill all your jars, and seal lids.

**Please note these are not canned for food storage.**
The jam will be good 1 month in the refrigerator and a long time in the freezer.

We filled 24 small jars with the jam to give to family and friends. 


Enjoy on some nice warm toast or in a PB&J sandwich.


Rachel says it's a different kind of jam. Defiantly not her favorite, but still taste amazing.

 I love it! It is different and very sweet. I try not to eat too much of it so I can have some until they are in season again.


After trying his entire life to keep him an indoor cat I have failed.
Thorin would run past me, go out the garage, anything he could do to get out.
He won, and mama is sad. But he is a happy cat and still comes inside when I call him so it's ok.

I hope you try this recipe if you have loquats in your area!
Thank you for reading.

Friday, March 28, 2014

Jillian Michael's Detox Drink

I am sure we have all seen this image floating around on Pinterest, Facebook, and other social media.


Well we both decided to give it a try.
Directions seem simple enough.
Worth a shot right?

I have read in other areas that you eat whatever you normally would 
while doing this so we are going to do just that.

Calls for 60 oz of water (Distilled or pure?)
Well we are not buying bottled water, we have spring water from our well so it will have to do.
a Tbsp of "sugar free" cranberry juice
Since Cranberry juice can't truly be sugar free I got Just Cranberry Juice.
It is like $7 at Publix. Most Cranberry juices you get in grocery stores are not true cranberry juice, they are mixed with apple and grape juices. Read the ingredients to know what you are getting.
1 Dandelion root tea bag
and 2 Tbsp lemon juice
I have found that 1 lemon = about 2 Tbsp lemon juice. 


For the 60 oz of water I just used an old juice bottle that held 60 oz of juice and filled with tap water.
I took about a cup out to heat up for the tea bag, letting it seep for about 5 mins before returning it to the big bottle.


Everything mixed together. 
It taste very bitter to me, but still tolerable. 
Rachel said it taste like lemon water.
We will see how it works!


In 7 Days we will give you our results!
~~~~~~~~~~~~~~~~~~~~~

(Credit: Spongebob Squarepants)

Well it's a week later and we have to say we are not completely satisfied.

Rachel (who was on her period) did feel less bloated, but it didn't show. She lost about 2 lbs in actual weight.
I didn't loose anything. I didn't like the taste, and began hating it more and more everyday.
The ingredients were kind of expensive.

One good thing did come from this, Rachel found that she really likes Dandelion Root tea.
And the tea can help lower blood pressure! So Yay for me too.

If you have extra money and bloating is a severe enough problem for you, then Rachel would recommend it.
I on the other hand wouldn't.

Thursday, March 27, 2014

Asian Ginger Flounder and Stir-Fried Veggies

We have been wanting to do a fish recipe for quite awhile now, but we wanted to do it with fresh fish from one of my Dad's fishing trips. Sadly he hasn't had much luck lately. So we went ahead and bought some from the store. The original recipe we found in a Woman's Day Magazine, you can find it HERE.
The original recipe called for Salmon, we can't really afford it at the moment so we went for one of our favorites in our price range, Flounder.


For this recipe you will need:
1 1/4 lb Flounder or Tilapia 
3 tbsp Hoisin sauce 
(If you don't have it, or can't find it HERE is a link to a great recipe for it)
1 tbsp Agave Nectar or Honey
1 tbsp and 2 tsp fresh grated Ginger
2 tsp vegetable oil
2 cloves garlic
1 Onion
1 lb baby bok choy 
2 large carrots
small bunch green onions (for garnish)


When we started to place our fish into a broil safe cooking dish we noticed there were some bones still in the fish. the bones were in the middle of the fillet so we carefully cut it out. 


Next you mix up 1 tbsp ginger, hoisin sauce, agave nectar, and 1 clove garlic together and set aside.


Using half of the sauce mixture coat the fillets and place in your oven set to broil.
Cook 7-9 minutes, fish should flake with a fork when done.


While the fish is cooking chop up your vegetables. We used a peeler on the carrots like our crispy Carrot Fries from a previous post.


Over medium heat add your vegetable oil to heat up and stir in the remainder of your garlic and ginger until it is super fragrant (should only take 30 seconds) 


Stir-fry your vegetables until they are to your liking.


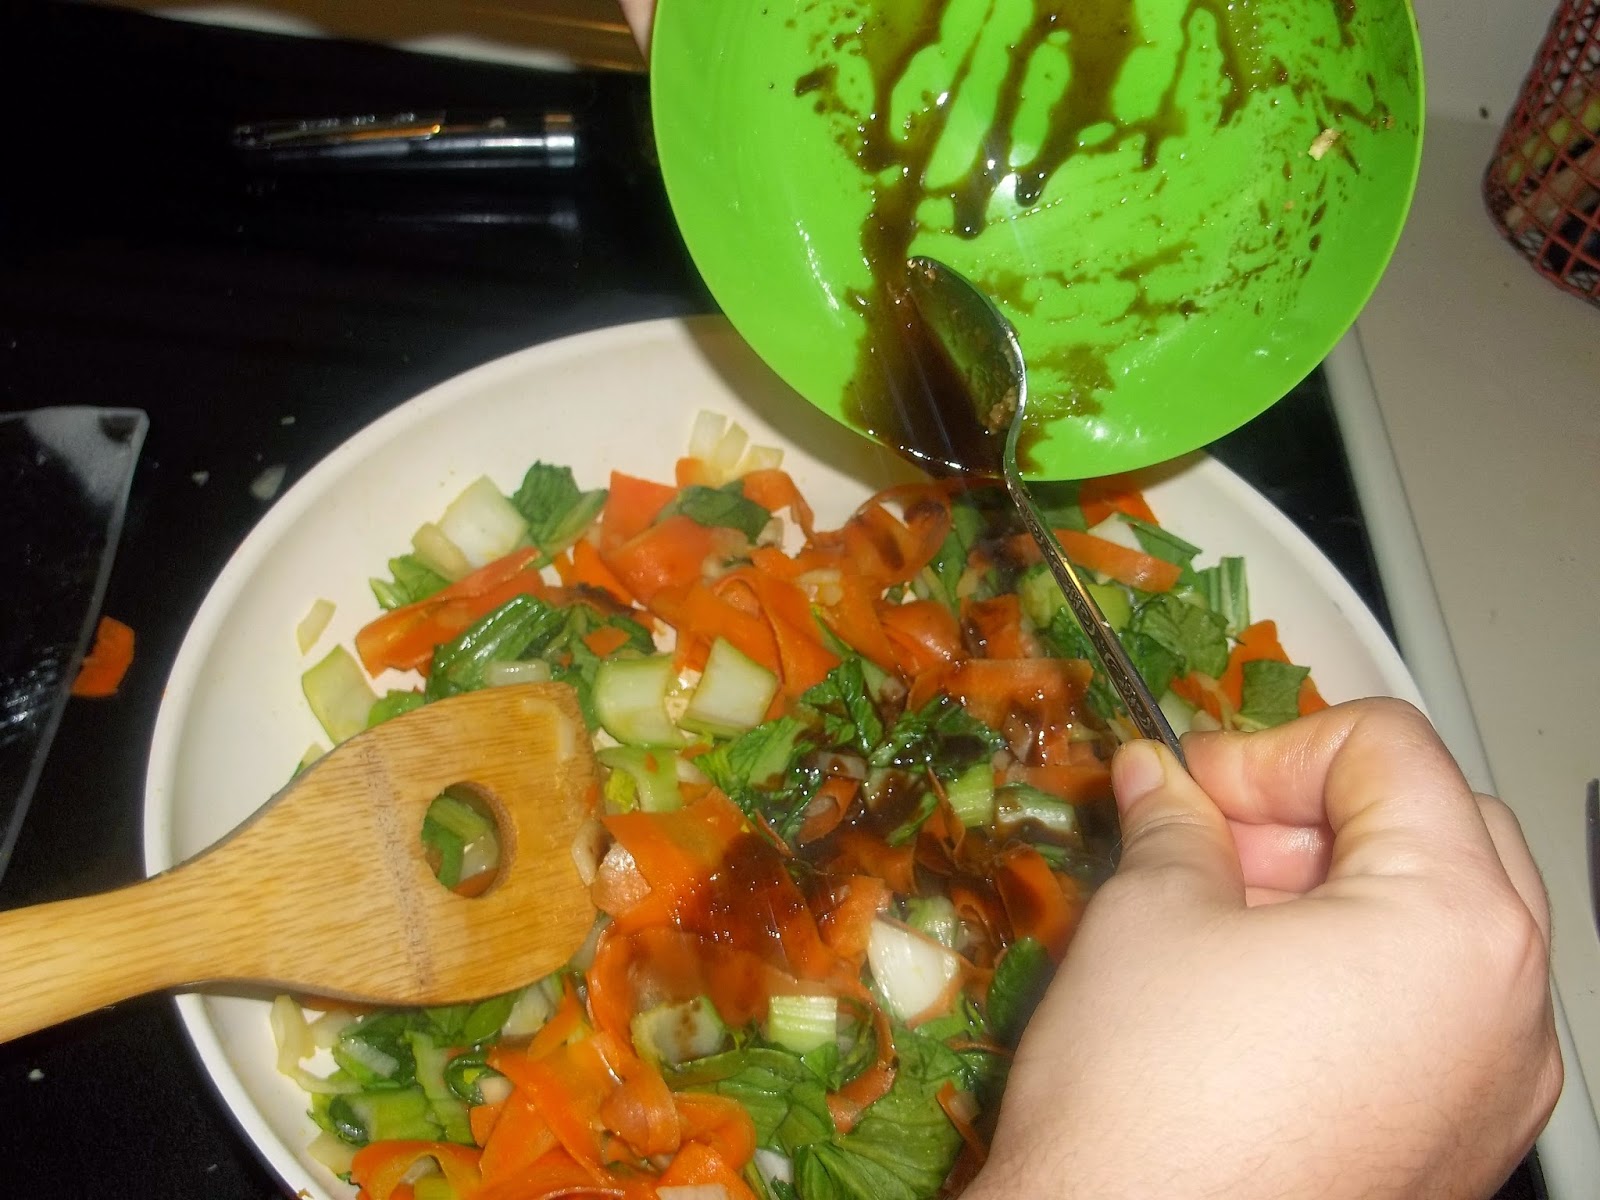
Add the remaining sauce to the veggies


Fish should be done by now, because of the sauce the color didn't really change.
It did flake with a fork though!


The finished result!
You can serve this over noodles or rice, 
however it is wonderful on it's own if you are cutting out simple carbs.


I really liked this recipe, it was different and sweet.
I think I will add more bok choy next time though.

Rachel thought is was wonderful, but was expecting the fish to absorb more of the sauce's flavor. And would defiantly add more more bok choy next time as well.

This weeks kitty is Sate again!
My wonderful husband planted some cat grass in an old broken toilet for our cats.
The kitties love it, as you can see Sate is going to town on it!


Saturday, March 15, 2014

Healthy Vegan Shamrock Shake

It's that time of year, almost St. Patty's Day where I would have run to McDonald's at the drop of a hat just to get a Shamrock Shake.
The only thing I would get there (not a huge burger fan).
Alas I gave up fast food.

Now this recipe Rachel has the credit of finding, HERE is the original recipe.
We of course twiked it to our liking.

This is a healthy Vegan Shamrock shake! How exciting is this?

Here is the list of ingredients you need:
1 1/2 cup Almond milk
1 ripe frozen banana
2 handfuls spinach
1/4 teaspoon peppermint extract
2 pitted dates
1 heaping tablespoon of the highest % cocoa chocolate you can handle
(not pictured) 1 tablespoon of Agave Nectar 


The original recipe called for Cacao Nibs, we couldn't find any at our local store and didn't have to go out of town to the health food store to get some. So we found some 90% cocoa chocolate bar and grated it. 

*WARNING* If you are making your lunch in the oven at the same time do not set your chocolate bar on the stove top! It will melt as you can see.


Add in all ingredients, but the chocolate, to your blender.


pulse until all the spinach is pureed.


and last add in the chocolate and pulse just enough to have it evenly distributed throughout the shake.

The result is a shake that taste EXACTLY like a McDonald's Shamrock shake.

Oh my goodness it is just heaven, you can not taste the spinach that gives it the traditional green color.
It is just so awesome, I can't rave about this enough.

Rachel said it tasted just like Mcdonald's shake, but with all natural ingredients.
She would make it again Any day.


Back in 2011 Rachel made one of our cats into an LOLcat.
Her name is Salina and she doesn't really want your blood =^_^=