Wednesday, February 12, 2014

Avocado Mac n' PepperJack Cheese

I know I speak for both Rachel and I when I say we are sooooo super excited to share this recipe with you, because OMG it is so wonderful!

Avocado Mac n' Pepperjack cheese has got to be the best thing on this planet.

We found the recipe base here. If you are a true follower of our blog you know we tend to wing it with these recipes, if we don't have an ingredient we omit it or substitute it.
So here is what we did.

Ingredients you need:
10 oz  Rotini pasta or Elbow Macaroni
2 cups shredded Pepperjack cheese
2 Avocados
3 garlic cloves
2 tbsp lemon juice
2 tbsp butter
2 tbsp flour
1 cup milk
salt and pepper to taste 


We started by shredding the cheese until we had 2 cups worth. 


In a food processor you add the lemon, garlic,


and avocado.


Pulse until creamy. *Resist the urge to eat it!*


Make pasta according to package directions, drain, and set aside.


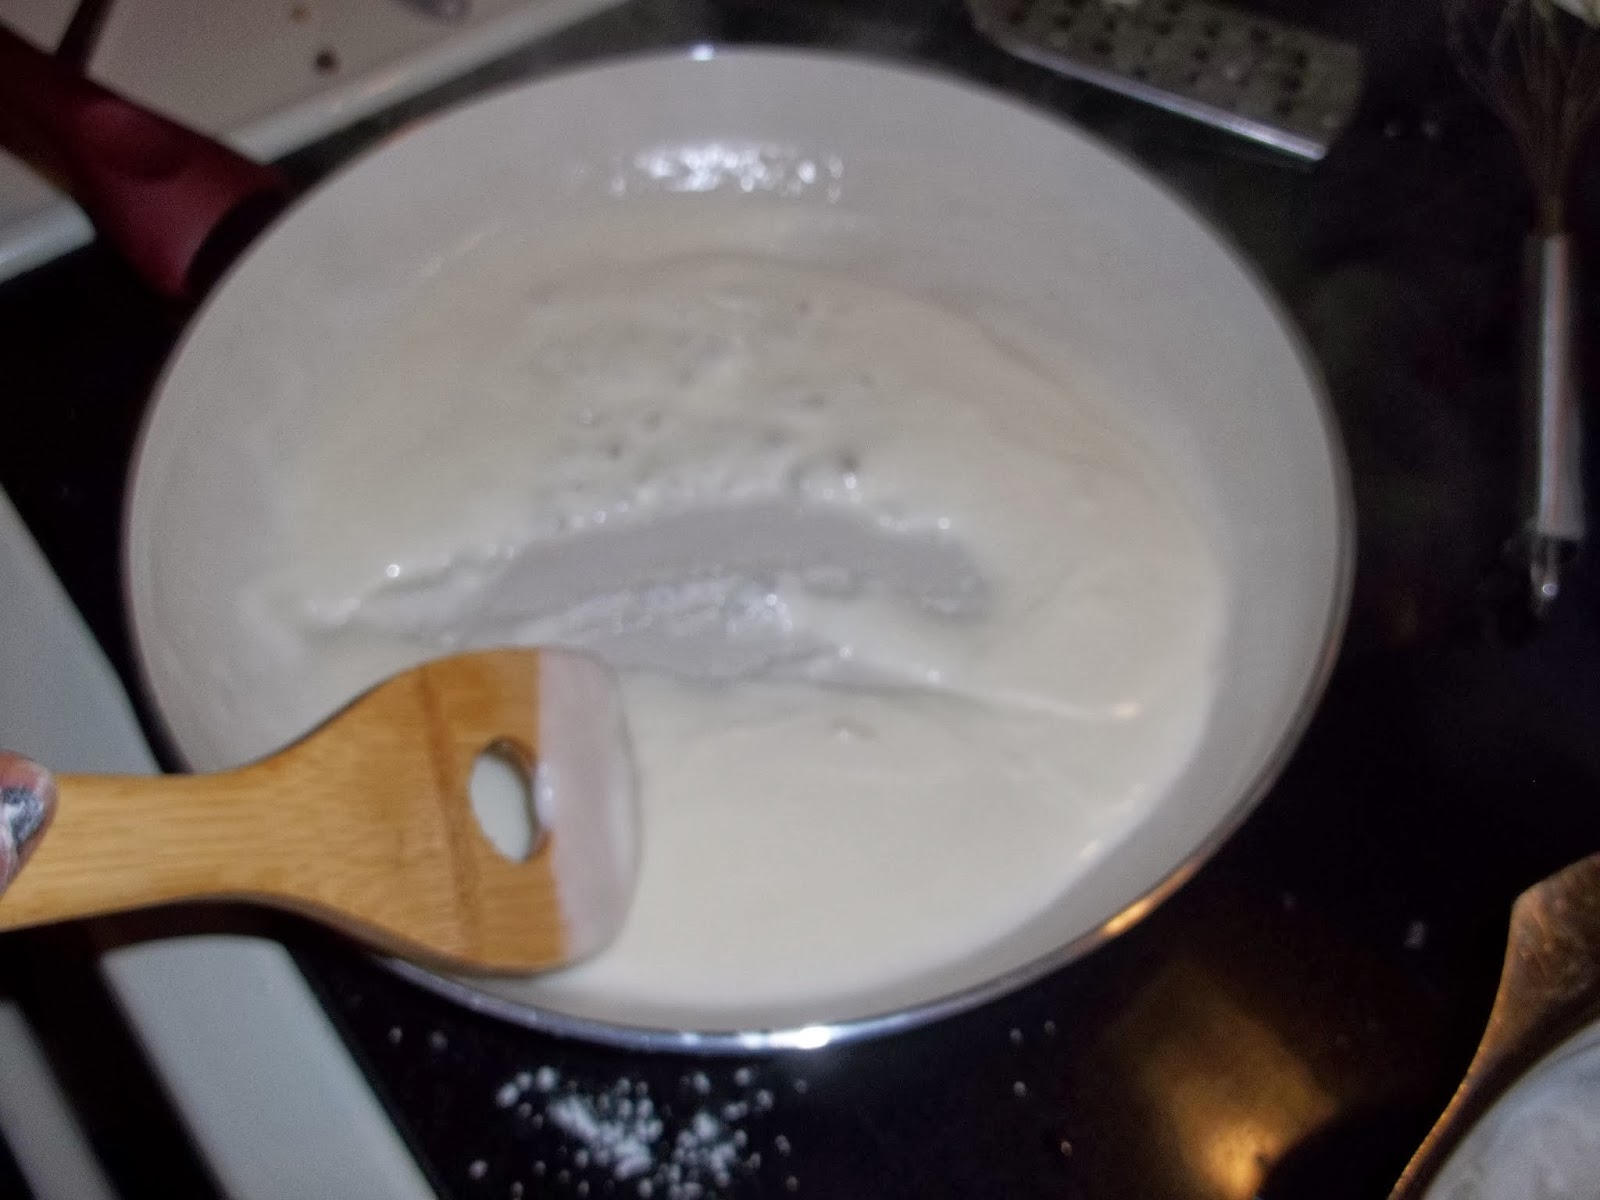
In a large sauce pan melt the butter over medium heat.


Stir in flour until well mixed


Add in milk and cheese.


Stir until creamy and set aside.


Put pasta in a large bowl and add the Avocado puree.


Stir it up until it coats all the pasta.


Last add the cheese sauce and stir it all together.


The final product is a very delicious and addictive mac n' cheese.


Rachel after making and tasting it decided she needed to rush home and make it for her family.
We both loved it, it was hard to put down the fork.
It was creamy with just a bit of heat from the cheese. Just amazing, addictive, perfect! 

What is most wonderful about this is after Rachel went home I didn't have to share with anyone except my dad! 
(I mean I offered some to my husband and roommate, but they don't like avocados *score* more for me)
Yummy, yummy in my tummy!

One thing we both agree on is to not let it sit too long. 
It still taste great, but the creaminess goes away.


Here we have a perfect example of why you shouldn't leave glasses of water unattended in my house.
Tsk, tsk Thorin.


Wednesday, February 5, 2014

Low Carb Spinach Quiche

Hey everyone! Hope you had a good week, if not it's going to get better 
because we have an amazing Quiche recipe!
Seriously... it is the best egg pie you will have!

Here are the ingredients you will need:
4 cups fresh spinach
1 cup cottage cheese
1 cup your favorite shredded cheese
6 eggs
1 tablespoon garlic powder


Start by preheating your oven to 350 degrees then chop your spinach.


Yummy Spinach!


add in the cottage cheese


eggs, and shredded cheese. And mix it up.


Spray your pie pan with a non-stick cooking spray.


Spoon mixture into greased pie pan.


It will look like it overflows unless you have a deep dish pie pan.
We made 2 Quiches from this recipe so Rachel could take one home to her family.

Bake at 350 for 45 mins.


Tada!


The edges should be nice and crispy while the middle is soft.
You can eat right away(Well after letting it cool a bit, Don't burn your mouths people!),
Refrigerate and have the next day(Taste great warm or cold), 
or make in little muffin tins and freeze(you will have breakfast for the week)!

Now this is my base recipe, you can add anything you want to it.
Add some chopped bacon or ham, more veggies, and any type of cheese.
Make it yours and make it amazing!


This is super yummy, I love having it for breakfast or just whenever...
Rachel loves it as well and always wants to make it.
It's super addictive ^_^


Thank you for reading and we hope you enjoy this recipe as much as we do.


This little guys doesn't get as much attention as his little brother on here.
This is Sate, he is my 5 year old baby, my husband and I got him when he was just 3 days old.
Isn't he sweet?


Sunday, January 26, 2014

Jalapeno Poppers

Hello everyone!
It's been one very stressful week, Rachel is scrambling to move, and I have been stressed from work.
When you are having a terrible week it's okay to indulge in a little unhealthy food.
And believe me this has been a terrible week... for me at least.
With that said we decided to make yummy delicious bacon poppers!

Ingredients:
25 Jalapenos
8 oz cream cheese
1/2 cup of your favorite shredded cheese
your favorite bacon


Start off by cutting your peppers in half  lengthwise removing the seeds. (Tip: Do not cut off the stem end, the cheese will come out easily when it's cooking)


mix your cheeses together.


and fill the inside of the peppers with your cheese.


cut your bacon strips in half and carefully wrap the peppers with it 
and stick a toothpick through to hold the bacon in place.


Prepare your grill (I just throw coals in, light it, and wait for them to turn white)
We did 15 mins on each side until the bacon was crispy.
Or you can use your oven set to High broil.
In the oven you put in for about 5 mins on each side until crispy.


And the result is an extremely wonderful crispy treat!
It's warm, cheesy, and savory.
They taste the best when hot and fresh.


Enjoy!


I don't care if I'm on a diet, I will never, ever, give up bacon!
It is just fine to have it once in awhile ^_^

 Shirt curtsy of Rachel!

Wednesday, January 15, 2014

Megan's Green Smoothie

Alright to make up for the late post last week we are doing 2 posts this week 
and an update on my weightless! 
Weighed myself this morning and down from 313 to 284!
That is a total of 29 lbs!!!

I have to say I am feeling better and can't wait for more weight to come off.
I think the key to my journey is the recipe we are sharing with you today.

For my Green Smoothie you will need:
2 cups spinach (packed)
1-2 cups kale
1 banana
1/2 cup peaches
1 cup strawberries
1/2 cup blueberries
2 cups almond milk or water


measure your spinach, pack it in so you get lots of it.


2 cups of kale not packed (I am slowly working Kale in more but it doesn't blend well for me)


What is looks like in the blender.


and all the fruit. This will make it sweet and hide the taste of the greens.


Finally 2 cups of almond milk


Pulse and blend, you may need to stop and push the ingredients way from the sides. 


The finished product!
There are only 340 calories in this entire blender! You can drink this whole thing, and I do ^_^
I try to have it for breakfast everyday, sometimes lunch too!


I do not have the best blender in the world so it's a bit chunky. I only spent $20 on my blender so If you have a higher quality blender you will have smoother results.


It's a Himeko and Twi to brighten your day!


Monday, January 13, 2014

CranApple Juice

This post is a bit late, but it's a good one!
I have loved playing with my new toys I have gotten for Christmas.
This week we got to try out the juicer!

We decided to make cranberry apple juice because I had apples and cranberries are cheap this time of year.  Here are the ingredients we used:
one 12oz bag of cranberries
5 red apples
5 green apples


Slice up the apples


and core them


Then you just press them through the juicer.


We used mason jars to catch the juice. One for apple juice and one for the cranberry juice.


The cranberry juice came out a pretty blood red color, but an entire bag barely took up 1/3 of the jar.


We slowly mixed the apple and cranberry juice together between the 2 mason jars.


This was the result, very foamy...


and delicious! 


Now I didn't want all the fruit fiber or pulp go to waste.
We added about 2 tablespoons of agave nectar and spread it on parchment paper in the dehydrator over night at 115 degrees. 


Results were a tough fruit leather that, as long as you didn't mind chewing, was wonderful!


Sorry for the week late post, we hope to make up for it...

With this adorable picture of Lexie! 
She is Rachel's 16 year old Bichon Frise that wishes she were a panda.